Today I taught two workshops at Millie Moon in Frome and having spent the day with more than a dozen new menders I was reminded of this: when it comes to learning a new skill, sometimes the hardest thing is just getting started.
Visible mending is no exception to this and if you're like me then you might spend ages researching and getting your tools ready, only to freeze up when it comes to making that first stitch. Or, you might jump headfirst into trying to repair something without any tips and tricks to guide you and find yourself frustrated when things don't go right.
We talked for a while about both of these scenarios - the problems that had come up in previous mending attempts and then the barriers that has stopped people trying altogether - and so I wanted to share a few simple things to remember so that you can really enjoy practicing the art of visible mending.

1. Repaired is better than perfect
A huge part of slow stitch club for me has been to try and overcome the feelings of perfectionism that I've always struggled with. The fear of creating something 'perfect' can be a really big hurdle when it comes to anything creative but I think visible mending is a really great practice to overcome this. Even if your stitches are wonky and your tension isn't quite right on those first few mends, if you manage to fix an item of clothing so that it can be worn again and not sit unworn in the mending pile for another few months then I think that's a huge win. Plus, all holes and damage to clothing is unique to the wearer so try to embrace the repairs as being personal to you and remember that no one else will notice those wonky stitches!

2. Keep your tools simple
There are always an array of tools available no matter the craft and visible mending is no different. However, all you really need to get started (other than your holey clothing of course!) is a good needle and thread.
When you just want to practice a simple darning method or try and repair a hole in a pair of jeans then there are two main things to remember. One, try and match the fibre content and weight of your threads to your fabric - so cotton thread for a cotton shirt / wool thread of a similar thickness for a woolly jumper. And two, use a needle that will make the process easier not harder - for example tapestry needles can make darning knits easier because they have a blunt tip to avoid snagging and sashiko needles are brilliant for denim because they're super strong and sharp.
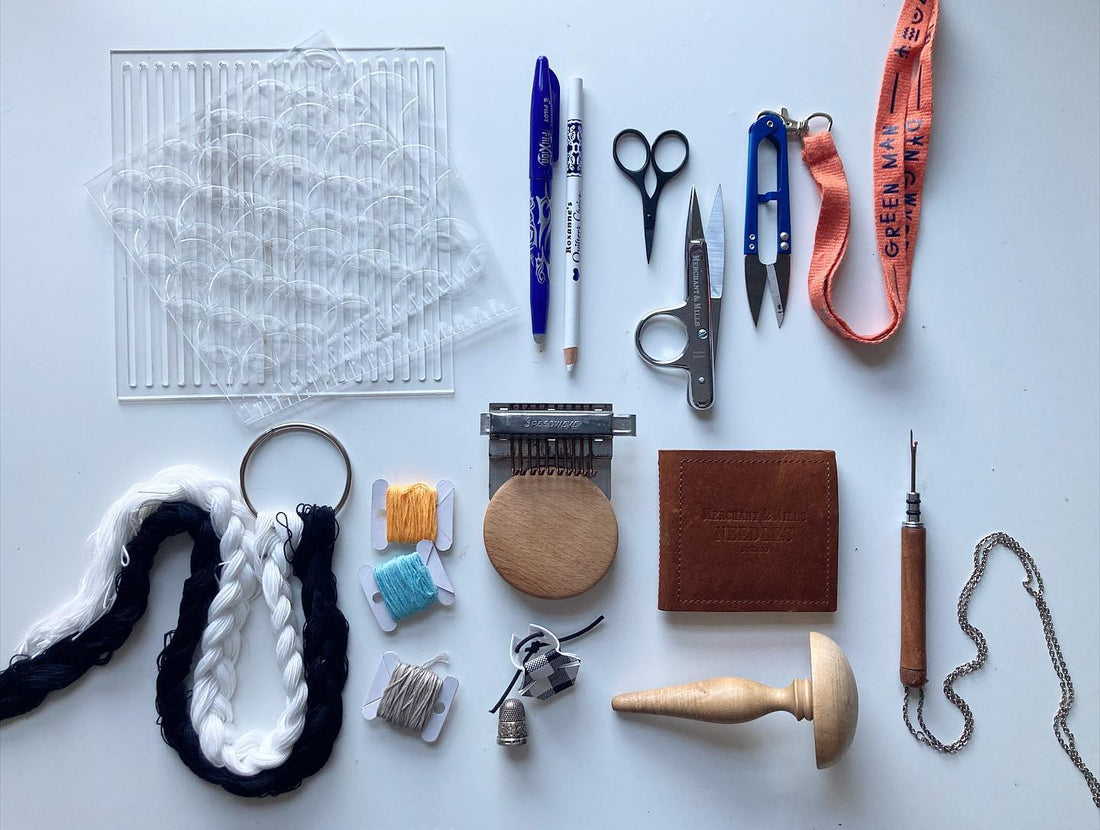
Getting the needles and threads right can make a huge difference to your mending projects so it's where I'd always suggest starting. The more you practice mending clothing the more you'll come to understand and use other specific tools like darning discs, fabric markers, thimbles, stitching templates, latch hooks etc.

3. Start small
This is a really important thing to remember. If you're already nervous about how you'll get on with different repair techniques then don't go straight in on your favourite or most treasured item of clothing! Take the pressure off by starting with a small hole or area of damage on something that you aren't too attached to. Socks are brilliant for this to experiment with darning as no one will see the patches and as highlighted in tip 1 - if you've repaired the sock then that is awesome in itself no matter how it looks. Most people will have pyjamas or old painting clothes that can provide a really good canvas for you to start stitching on too. Once you've got the hang of the techniques and you've practiced on lots of smaller holes and rips you'll feel more at ease when it comes to repairing those extra special pieces even if the damage is much bigger.
If you're new to visible mending then I hope these tips will help you to feel comfortable in getting started - and if you're a regular repairer then I'd love to know what your favourite tips are too!

